


A Professional, End-to-End Guide for Windows, macOS & Linux Users
Extending your laptop’s screen boosts productivity, enhances multitasking and improves creative workflows. This guide walks you through every major method—wired, wireless and USB-powered portable displays—with best-practice steps, bandwidth data and troubleshooting tips.
1. Know Your Ports & Their Limits
| Interface | Connector | Max Raw Bandwidth | Typical Max Resolution / Refresh* | Multi-Stream Transport (MST) | Power Delivery | Specs / Authority |
|---|---|---|---|---|---|---|
| HDMI 1.4 | Type-A | 10.2 Gbps | 4 K @ 30 Hz | No | No | HDMI.org |
| HDMI 2.0 | Type-A | 18 Gbps | 4 K @ 60 Hz | No | No | HDMI.org |
| HDMI 2.1 | Type-A | 48 Gbps | 8 K @ 60 Hz / 4 K @ 144 Hz | No | No | idem |
| DP 1.2 | DP | 17.28 Gbps | 4 K @ 60 Hz | Yes (up to 2× 1080p) | No† | VESA |
| DP 1.4 | DP / USB-C | 25.92 Gbps | 8 K @ 60 Hz (DSC) / 4 K @ 120 Hz | Yes (up to 4× 1080p) | No† | idem |
| USB-C Alt-Mode (DP 1.4) | USB-C | 25.92 Gbps | Same as DP 1.4 | Yes | Up to 100 W | VESA Alt-Mode 2.0 |
| Thunderbolt 3/4 | USB-C | 40 Gbps | Dual 4 K @ 60 Hz | Handled via internal DP | Up to 100 W | Intel |
| USB-A/USB-C (DisplayLink) | - | Up to 5 Gbps (USB 3.0) | 2× 1080p or 1× 4 K @ 30 Hz (compressed) | Yes (driver) | No | DisplayLink |
*Max resolution assumes a single display unless MST noted.
†Power Delivery is possible only when carried over USB-C with a PD controller.
2. Check Your Laptop’s Capabilities
- Inspect physical ports (labels often show DP ⊃, lightning bolt ⚡ or HDMI logo).
- Look up the laptop’s GPU limits (Intel ARK, NVIDIA or AMD spec pages).
- On Windows, run
dxdiag→ Display tab → “Display Memory (VRAM)”. - On macOS, → About This Mac → “Displays”.
3. Wired Methods
3.1 Direct HDMI / DisplayPort Connection
- Connect an external monitor using a certified cable no longer than 1.8 m to avoid signal drop.
- Select the correct input on the monitor.
- Configure OS settings (section 6).
Pros: Lowest latency, no additional drivers.
Cons: Laptop often limited to one HDMI/DP port.
3.2 USB-C DisplayPort Alternate Mode
- Use a USB-C–to–HDMI/DP cable or a USB-C monitor.
- Ensure the USB-C port supports “DisplayPort” or “Thunderbolt” (look for ⚡ logo).
Advantages: Single-cable video + charging.
3.3 Thunderbolt Dock
A Thunderbolt 3/4 dock multiplexes PCIe and DisplayPort to drive up to dual 4 K 60 Hz displays while offering Ethernet, audio and 96 W charging. Ideal for hot-desk setups.
3.4 USB DisplayLink Adapters
When you run out of GPU-driven ports, a DisplayLink dongle uses USB 3.0 bandwidth to encode video in software. Install DisplayLink Manager (Windows/macOS/Linux).
4. Wireless Methods
| Technology | Max Resolution | Latency | OS Support | Notes |
|---|---|---|---|---|
| Miracast (Wi-Fi Direct) | 1080p @ 60 Hz | 80–120 ms | Windows 10/11 | Built-in on many smart TVs |
| Apple AirPlay | 4 K (Apple TV 4K) | 80–150 ms | macOS/iOS | Use “Screen Mirroring” in Control Center |
| Chromecast (Cast Desktop) | 1080p 30 Hz | 200 ms+ | Chrome OS / all via Chrome | Best for static content |
Wireless extension is fine for presentations or dashboards, but not for fast-response tasks like gaming.
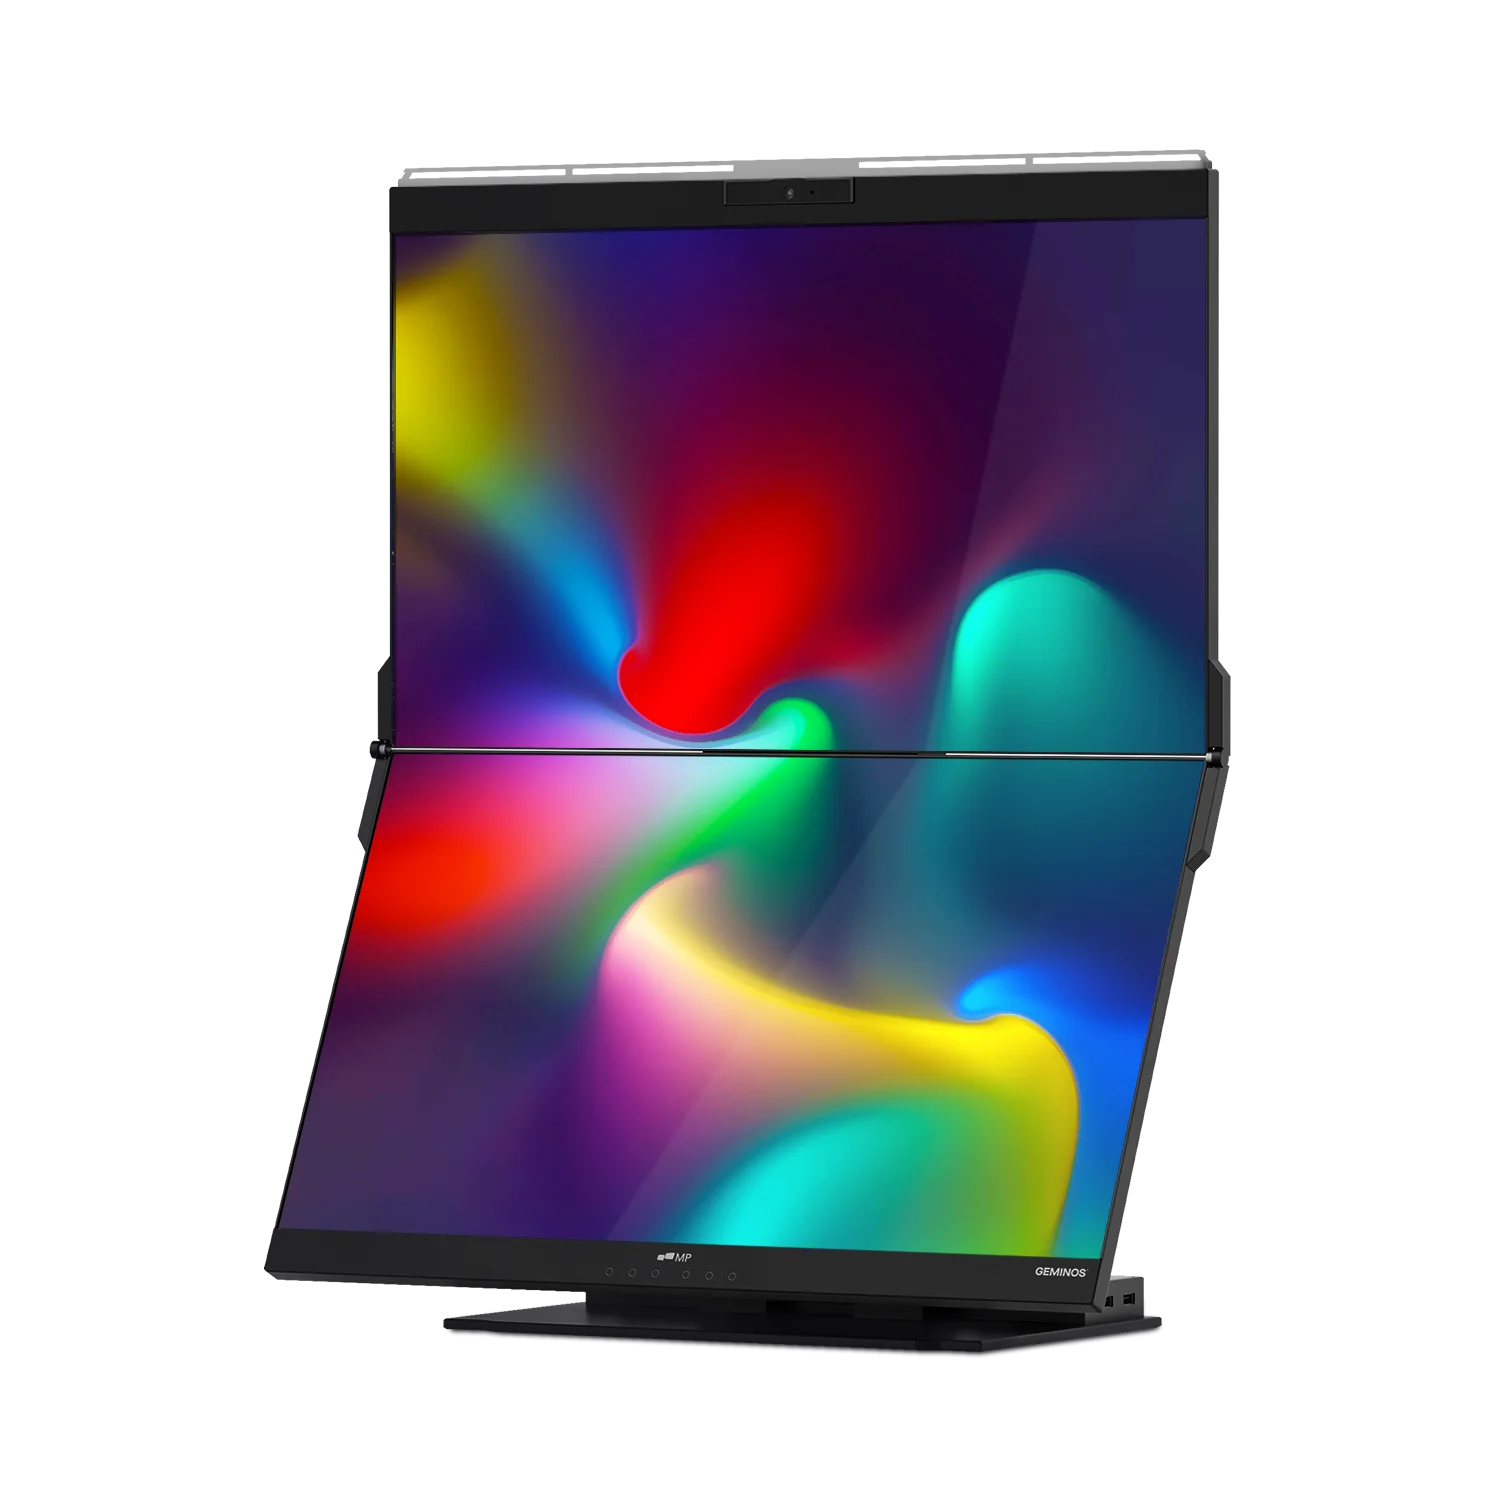
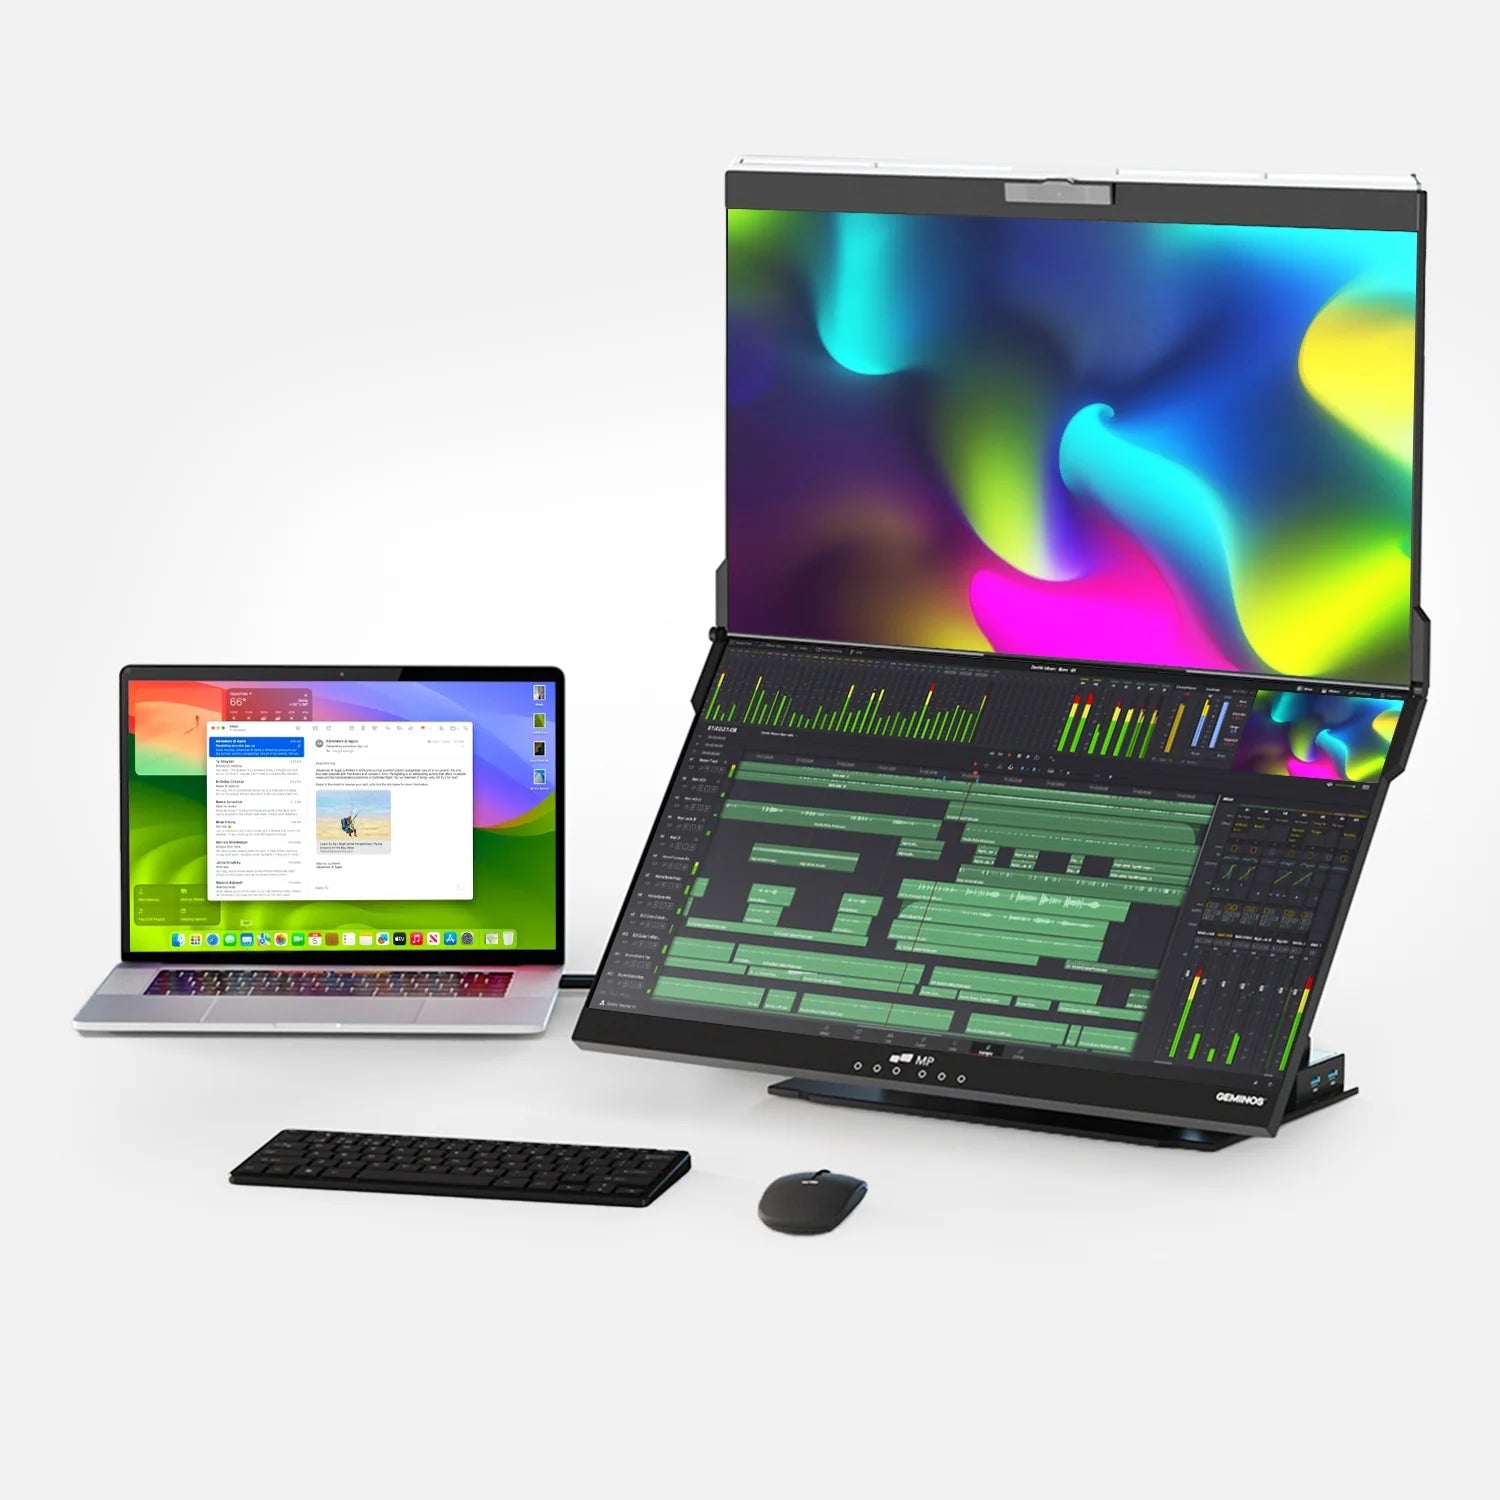
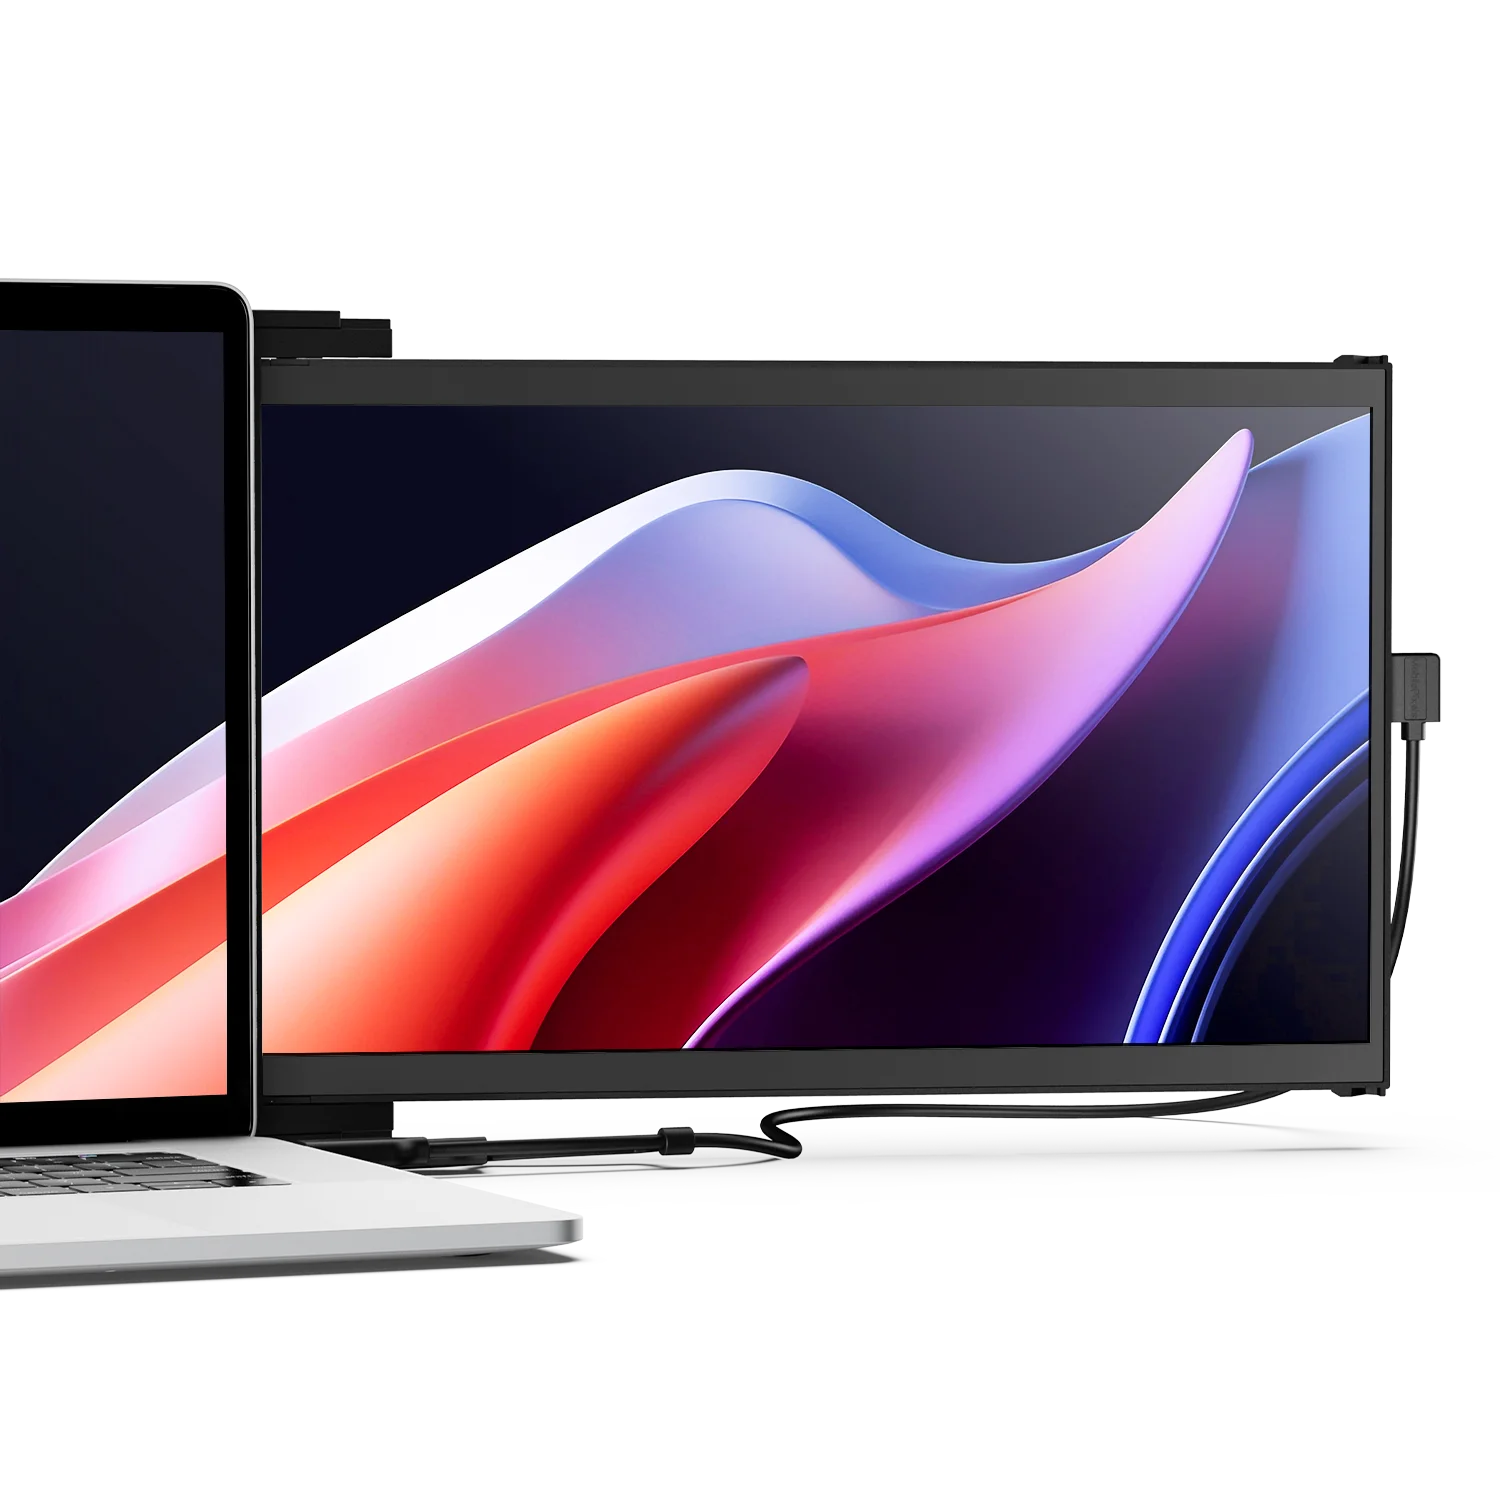
5. Plug-and-Play Portable Monitors
When mobility matters, USB-C-powered portable displays are the simplest way to gain extra screen real estate—no wall power, no wireless compression. Models such as the Glance 16" (OLED) or the 2-in-1 Duex Float 2 stack vertically from Mobile Pixels draw as little as ≤10 W, making them suitable even for ultrabooks.

For a curated list, see our line-up of portable monitors.
6. Configure the Operating System
| OS | Quick Path | Extend Shortcut | Arrange & Scale |
|---|---|---|---|
| Windows 10/11 | Settings → System → Display | Win + P → “Extend” | Drag rectangles; set Scale & Layout |
| macOS Sonoma | → System Settings → Displays | (no shortcut; auto-detect) | Drag blue tiles; check “Use as Separate Display.” |
| Ubuntu GNOME | Settings → Displays | Super + P cycles | “Join Displays”; set Resolution |
Tip (Windows): If “Extend” is greyed out, update GPU drivers via Device Manager or the vendor app (Intel ARC, NVIDIA GeForce Experience, AMD Adrenalin).
7. Troubleshooting Checklist
- No signal? Check cable rating (HDMI 2.0 for 4 K 60 Hz), try a shorter cable.
- Flicker at high resolution? Lower refresh to 60 Hz or disable DisplayPort 1.2 MST on the monitor.
- USB-C not outputting video? Confirm port supports Alt-Mode; some USB-C ports are data-only.
- Colors washed out? Force RGB full range in the GPU control panel.
- Laptop runs hot driving multiple screens? Enable hardware-accelerated GPU scheduling (Windows) or switch to “High Power” (macOS on Apple Silicon).
8. Future-Proofing
- Prefer USB-C/Thunderbolt monitors; they support both DisplayPort 2.0 and USB4 going forward.
- For gaming, look for HDMI 2.1 or DP 1.4 with DSC to handle 144 Hz at 4 K.
- Keep firmware updated on docks (Thunderbolt Control Center, CalDigit/Dell/HP updaters).
Conclusion
Extending your laptop screen can be as simple as plugging an HDMI cable or as flexible as adding a USB-powered portable monitor on the road. By matching your laptop’s ports with the right interface, configuring your OS correctly and understanding bandwidth limits, you’ll unlock a multi-display workspace that boosts efficiency and comfort.
References
- HDMI Licensing Administrator. “HDMI Specification.” https://www.hdmi.org/spec
- Intel Corporation. “Thunderbolt Technology.” https://www.thunderbolttechnology.net/
- DisplayLink. “Product Overview.” https://www.displaylink.com/
- Microsoft. “Project to a Wireless Display with Miracast.” https://support.microsoft.com/windows
- Apple Inc. “Use AirPlay to Stream Video or Mirror Your Device’s Screen.” https://support.apple.com/en-us/HT204289
(All links accessed December 2025.)
Discover Tech Gadgets


Leave a comment
All comments are moderated before being published.
This site is protected by hCaptcha and the hCaptcha Privacy Policy and Terms of Service apply.